{ result.Title }
{ result.Description }
{ result.Description }
Cannot find anything related to '{ keyword }'. Try a different search or contact us
There are two ways in which you can move articles into a new section:
1. Via the Article Listing Table
2. Via the Properties tab within the Article Editor
To move articles via the Article Listing table:
1. Within the Content tab from the main Expression menu, navigate to the section which contains the article you want to move.
2. Place a checkmark in the box to the left of the Type column to select the desired article.
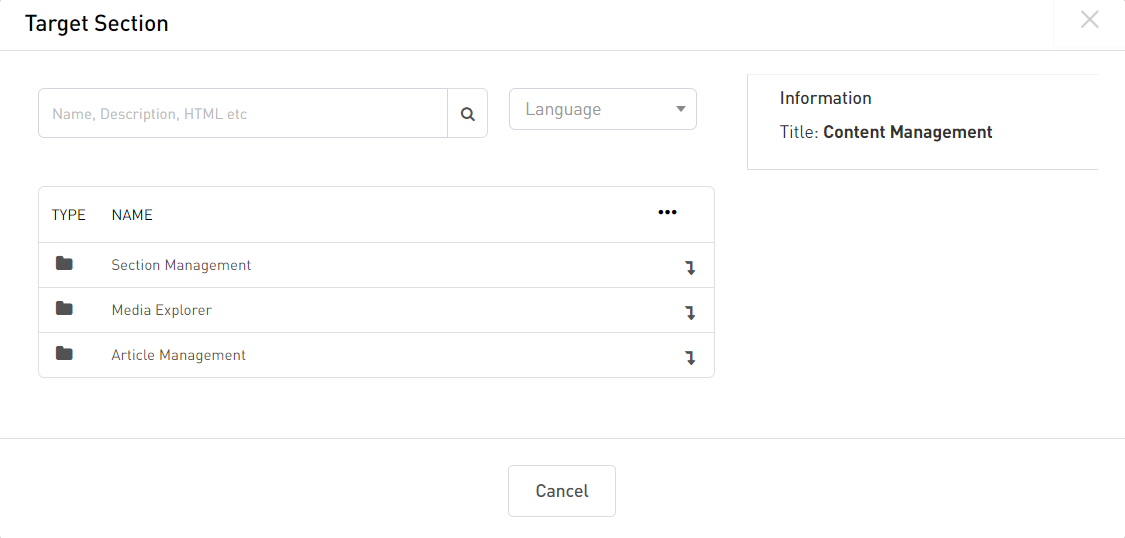
3. Click on the ellipsis icon on the right and select Move/Copy to open the Target Section tool
4. Navigate to the new section where you want to place this article.
5. Double click to select the section within the tool and then double click again to proceed with the move.
6. If you would like to create a copy of the article to move, rather than moving the original article, you can do so by selecting Create a Copy on the next screen.
7. Click Confirm to complete the move. You will then be returned to the Article Listing table and you will see that the selected article is no longer in the list (unless you had opted to create a copy)
To move articles via the Properties tab within the Article Editor:
1. Within the Content tab from the main Expression menu, navigate to the section which contains the article you want to move.
2. Click on the pencil icon on the desired article to open the Article Editor
3. Go into the Properties tab and click on the magnifying glass icon associated with the Section field, this will open the Linker tool.
4. Navigate to the new section where you want to place this article.
5. Double click to select the section within the tool and then double click again to proceed with the move.
6. If you would like to create a copy of the article to move, rather than moving the original article, you can do so by selecting Create a Copy on the next screen.
7. Click Confirm to complete the move, you will then be returned to the Article Editor.
8. Click Save to put the article into a pending state and return to the Article Listing table. You can then click on the orange icon in the Status column to approve your changes. Once approved, you can then click on the red icon in the Status column to Publish your changes, this will also turn the icon from red to green.
or Save & Publish to have your changes live and immediately visible.